Recording your own samples to use in Sensory Percussion is a great starting point for creating new and interesting kits! Here are some tips and good practices to help you export your own samples.
::: info We're using Ableton in the screenshots provided for this demo, but the steps for this process are basically the same in any DAW. :::
1. Record your samples
This can be anything that inspires you. You can record hits of a drum machine, chords or melodies from a synth, keyboard or guitar, vocal samples, or whatever strikes your fancy!
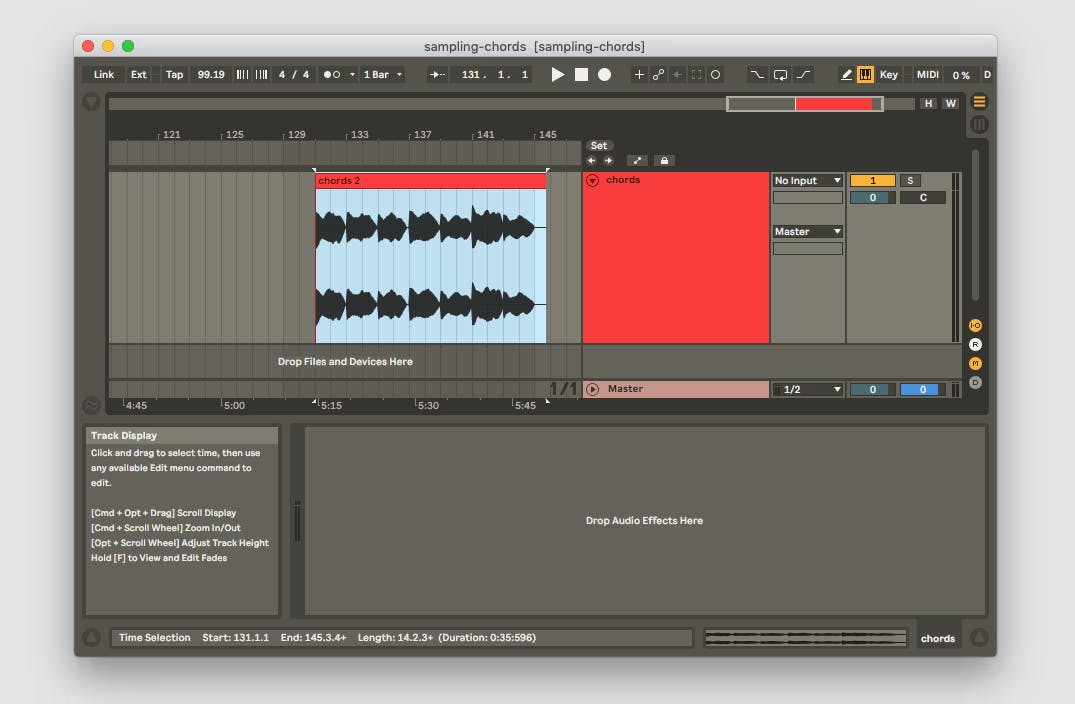
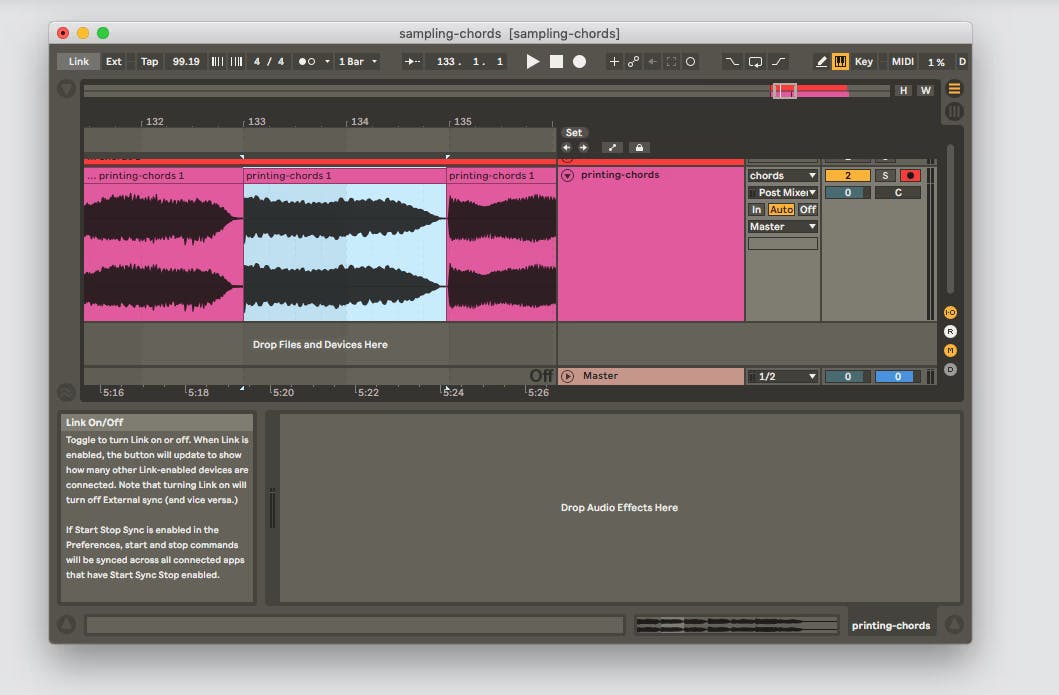
We are using some chords from a synth in the following screenshots.
2. Process your samples
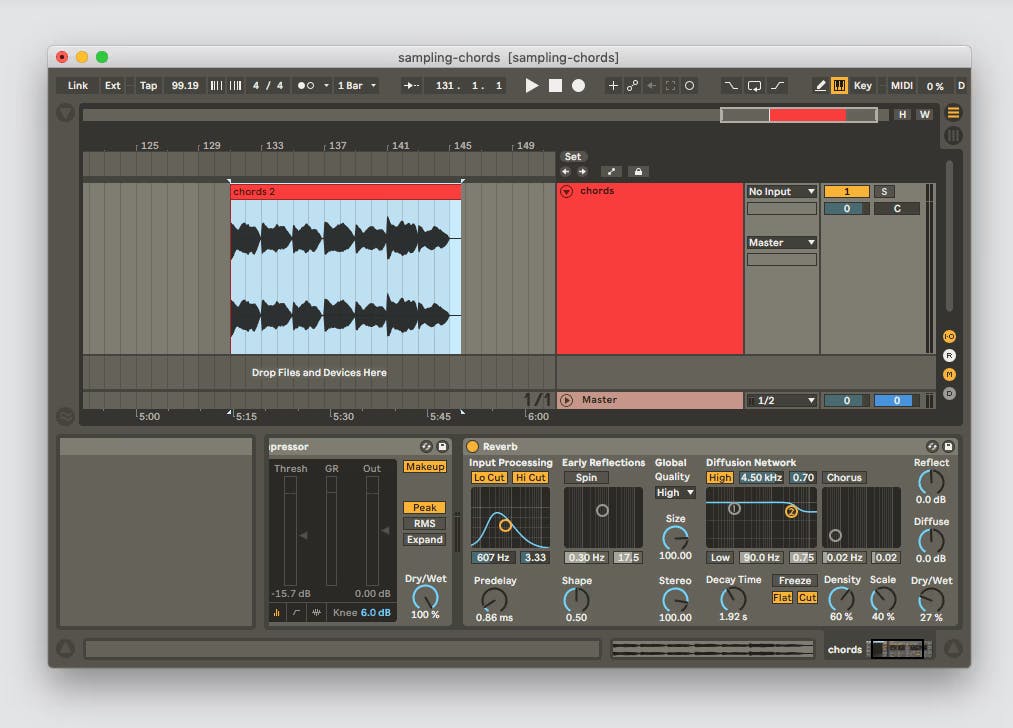
If you want you can process them further inside your DAW. You can add reverb, or distortion or any chain of effects you want. Below, we've processed the chords with compression and reverb. If you do process your samples, you might need to print or export the samples before you chop them so that your added effects are written to the file that you are chopping (see next step).
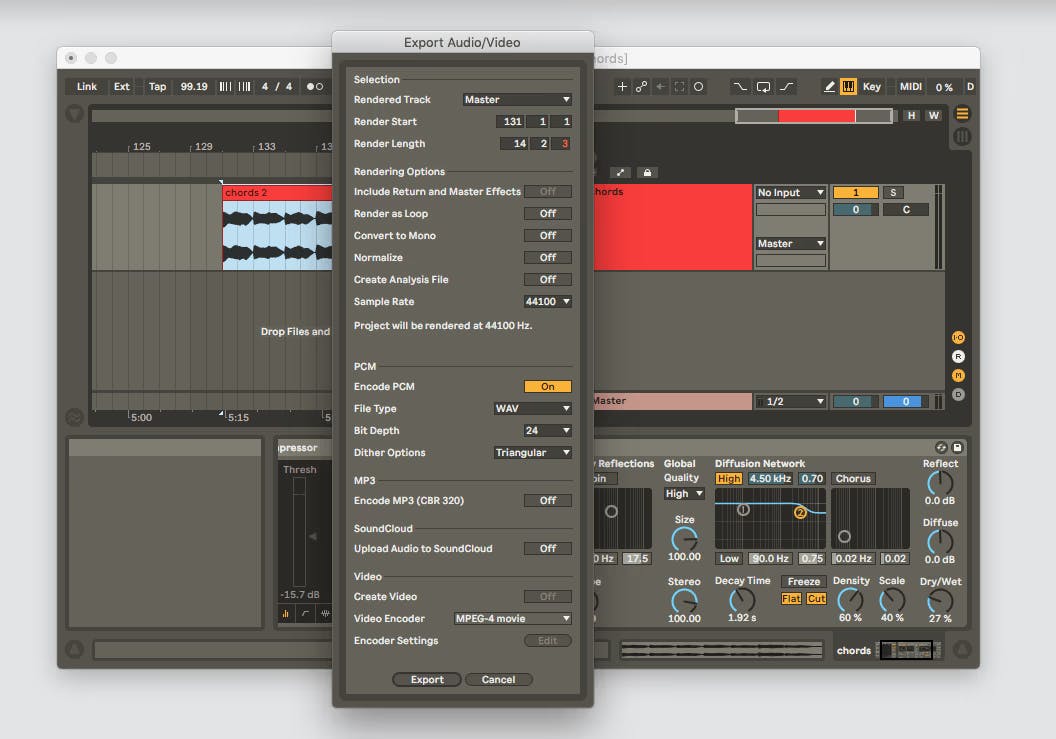
3. Print or export your samples
If you've added processing, especially if you've used long reverb or delay, you'll want to print or export your samples before you chop them.
::: info Sometimes you can get away with not printing or exporting at this stage (it depends on how you plan on exporting your final samples, as well as your DAW's features), but many times it's a good idea to have your effects processing embedded in the file that you are chopping. :::
There is no sonic difference between printing and exporting your samples, but sometimes it's faster to do one or the other.
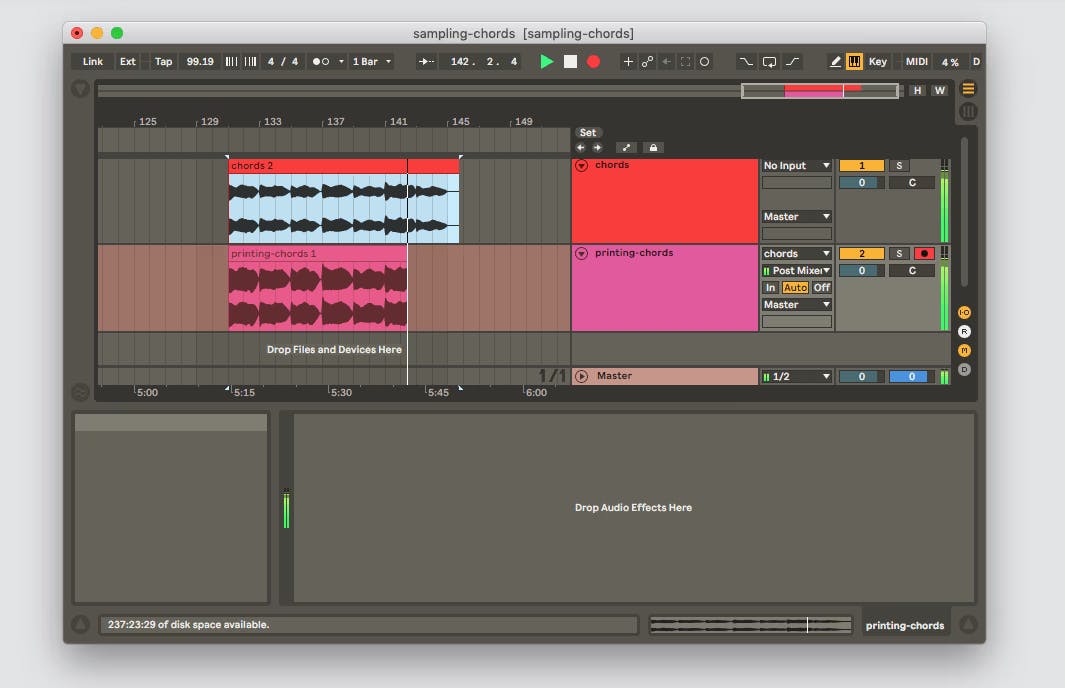
Printing simply means recording the outputs of your processed track to a new audio track. All you have to do is route your processed track to the input of a new track and then press record.
To export: first select a section of audio and solo the track you wish to export (if there is more than one track producing sound in your session).
Then you select the "export" or "bounce" or "render" option in your DAW -- they all mean the same thing.
After choosing the file type, file directory and all other options, export the file. Then drag the processed audio file back into your session where you can chop it up in the next step.
Printing works best for shorter segments of audio, because it allows you to keep everything inside your DAW. But, with printing, you have to wait for it to record to a new track in real time.
Exporting is great for longer sections of audio, because it allows your DAW to work faster than real time.
There are some DAWs that allow you to export your tracks to new tracks inside your DAW (essentially automatically importing the processed audio file after it's been exported). This is obviously the best of both worlds because it combines the speed of exporting with the convienience of keeping everything inside your session.
4. Chop your samples
Now we're to the point where we can chop up the sections of audio that will be loaded into Sensory Percussion as individual samples.
Make a slice right at the transient of the sample, and another edit right after the tail has decayed.
Many DAWs have automatic transient detecting and chopping features, and most others will allow you to highlight a section of the audio and perform a key command to make chops on either side of the selection.
If you're just chopping a few samples it's probably faster to just do it manually, but if you have to chop many many samples, then it's a good idea to look into the auto-chopping features of your DAW.
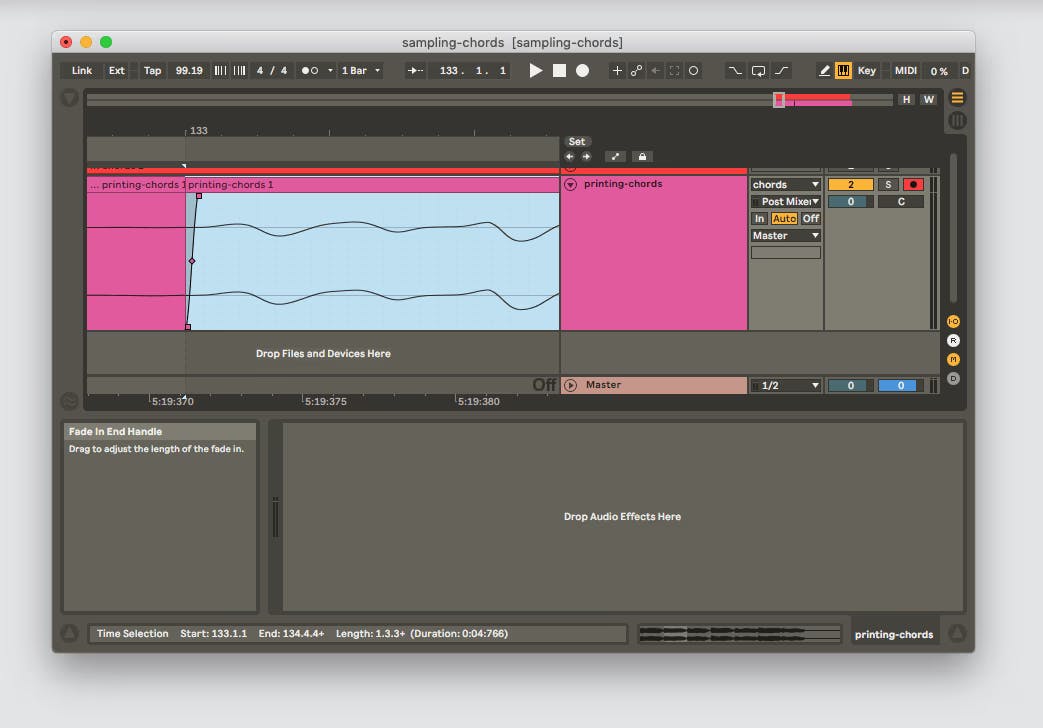
5. Add fades
Many DAWs require you to add a very short (inaudible) fade to the beginning of your sliced sample in order to avoid a pop at the start of your sample.
Some DAWs add that kind of fade automatically, but the reason it's necessary is to ensure that the sample starts at zero amplitude. If it starts at anything other than zero, it will cause the speaker to jump to a non-zero amplitude value, which results in an audible pop.
And it's a good idea to add a longer fade at the end of your chopped samples. This is especially helpful for sounds that you have recorded through a microphone, because it allows the noise floor of the recording to fade naturally with the tail of the sample, avoiding an un-natural sounding cutoff.

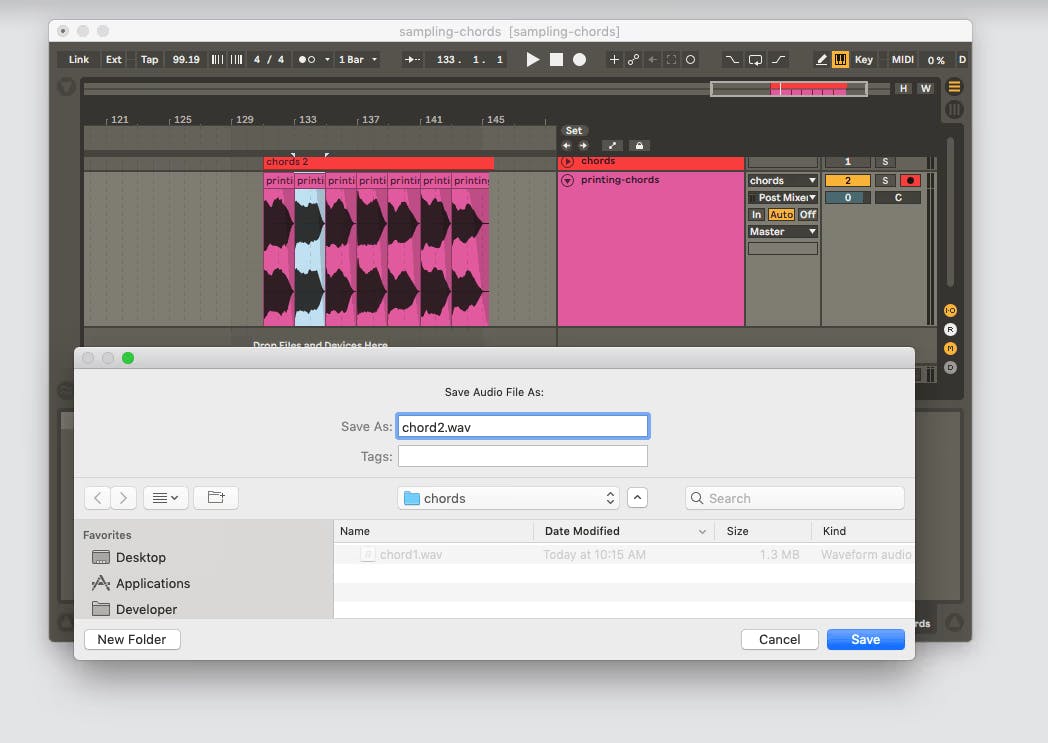
6. Export your samples and load them into Sensory Percussion
You'll now want to export your chopped samples to a location on your computer that's easy to find (so that you can drag them into Sensory Percussion).
Some DAWs allow you to "batch export" your chopped audio clips, which is helpful if you have a lot of chopped samples.
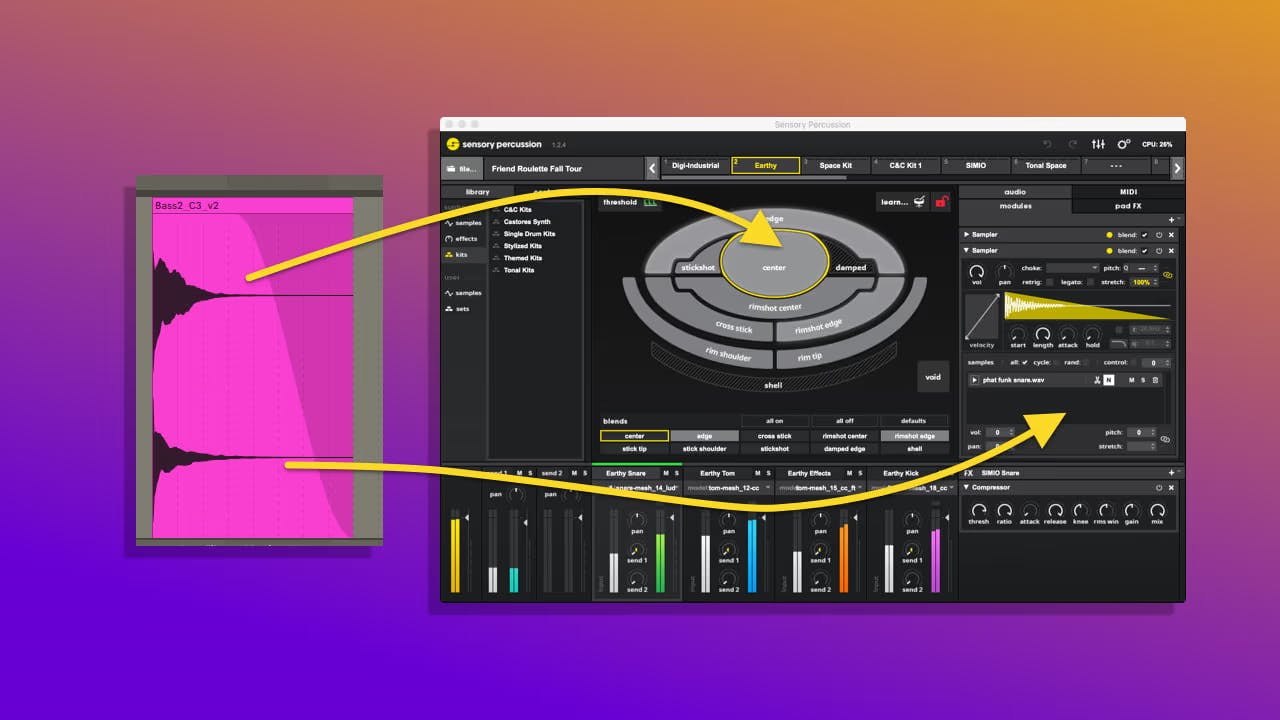
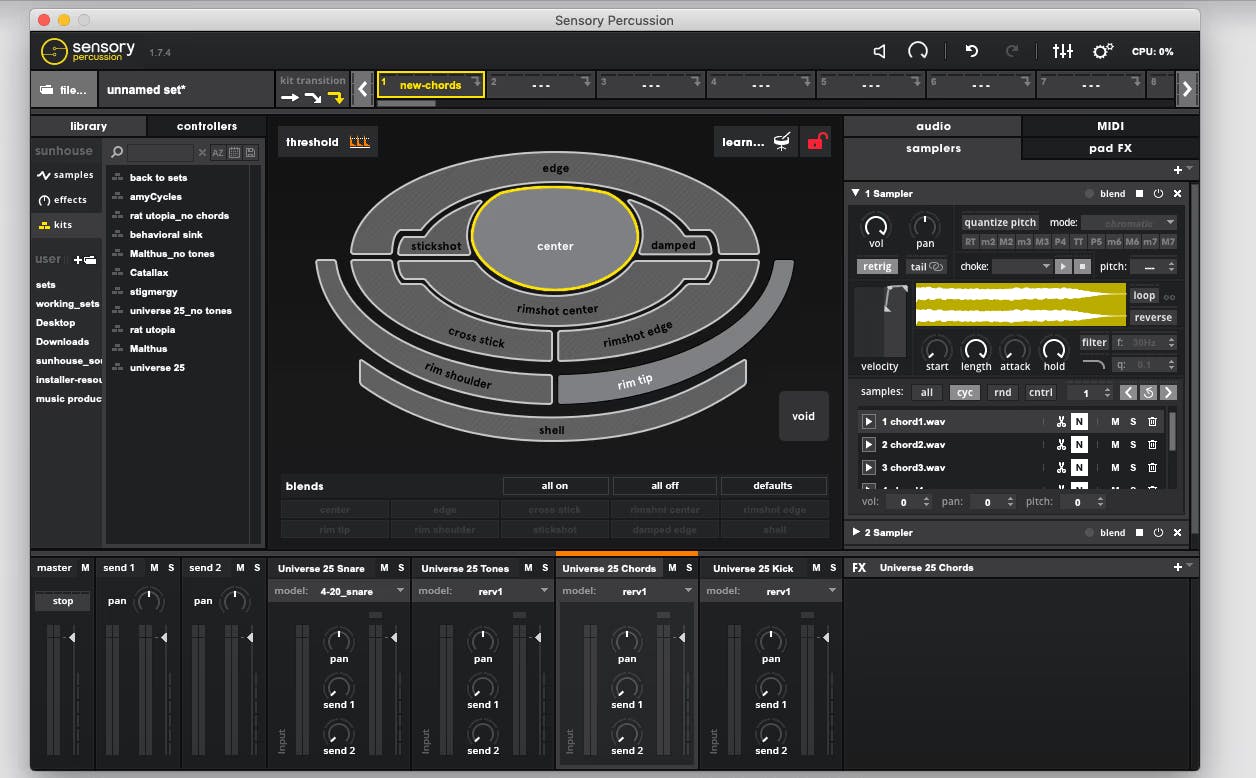
Drag your samples into Sensory Percussion samplers and start manipulating them with the powerful sampler and controller features!
Click the button above to download a pack of template kits. Each kit allows you to just drag and drop samples onto blank pads that already have intuitive controllers and effects assigned to them. Click here to read more about the specific presets.